|
|
|
|
News The Project Technology RoboSpatium Contribute Subject index Download Responses Games Gadgets Contact <<< R12 IOT2020 R14 pi-top[4] >>> R13 - ConstructionThe video about R13Mechanics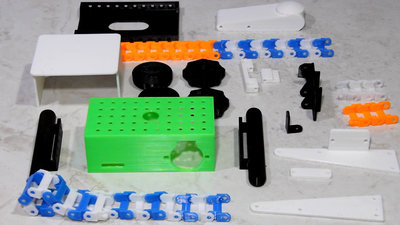
I had printed the parts of the mechanics in course of my review video of the Creality CR-10V2 3D printer from PLA. It is a very compact design. The advantage of printing small parts is that you can use all the spools with just a couple of meters filament left - the result is a really colored rover. 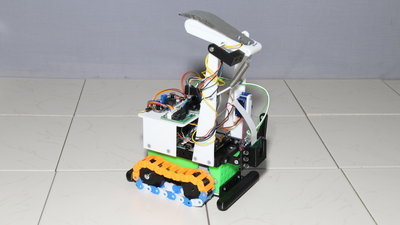
The printed parts form the skeleton of the rover - if you look closely, you can see that I have redesigned and added a few parts in course of the assembly. 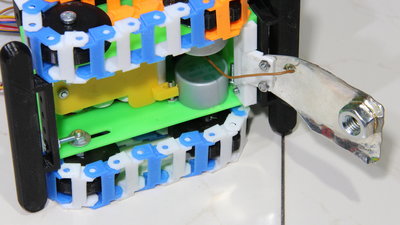
Power is supplied via two sliding contacts, each of which connects to a metal grid - one for ground and one for the positive supply voltage. The one on the bottom of the rover is pressed on the power grid by gravity,... 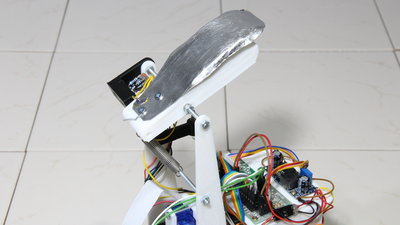
...while the second terminal on top of the vehicle is biased by a spring. 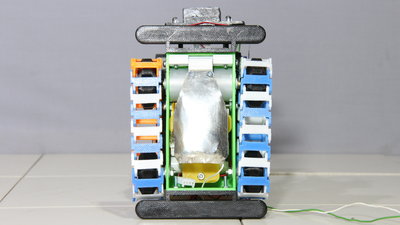
The stepper motors drive the two front wheels, the rear wheels are rotated via the chains. The robot is not really fast, which minimizes the risk of damage during operation - the kinetic energy of moving objects increases quadratically with speed. 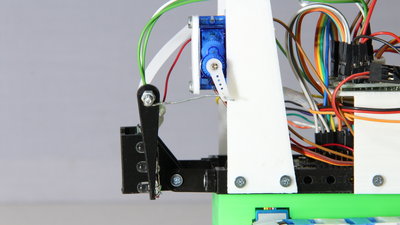
With the micro servo the camera can point up or down. The LEDs illuminate the dark areas of my robot room. Parts list: I got the electronic components from my sponsor Gearbest which is why the links point to their online shop.
Electronics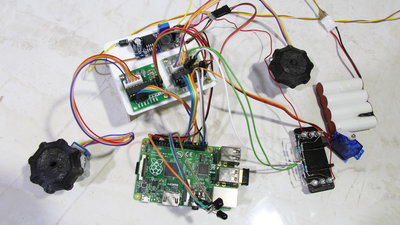

DownloadCircuit layout as well as the 3D files of the mechanics are part of the Download package (1.7MB).Test driveYou can take control of R13 in my RoboSpatium.<<< R12 IOT2020 R14 pi-top[4] >>> News The Project Technology RoboSpatium Contribute Subject index Archives Download Responses Games Links Gadgets Contact Imprint |
|
|