|
|
|
|
News The Project Technology RoboSpatium Contribute Subject index Download Responses Games Gadgets Contact <<< CNC v3.1 (Printer) CNC v3.2.1 >>> CNC V3.2 - RouterThe video about the first run of CNC v3.2Basic build instructionsCutting fluidMechanics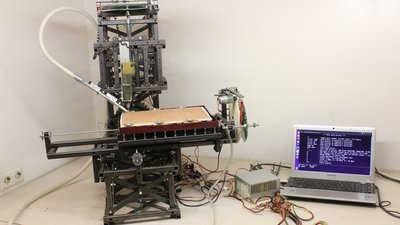
Even if the machine made it's first run, it is still in an experimental state and work on the design goes on. User Unrud has created a new version of my openSCAD model on Github with a better readable source code and all the drill holes included. After that he wrote a Python script that extracts the table of parts length and drill scheme automatically. Fantastic work, many thanks! https://gist.github.com/Unrud/61cfb145a9026b9bebab6ba41143373f Parts list
Samples
Engraving and cutting acrylic plastic works fine. 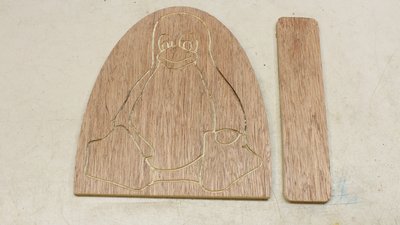
Same is for plywood. 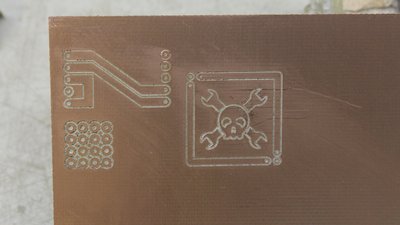
The copper plated board bends and vibrates when cutting the traces. I will implement a special mount for this kind of job. Nonetheless the result isn't bad. The 16 rings on the bottom left are arranged on a 2.5mm grid as used with prototyping boards. 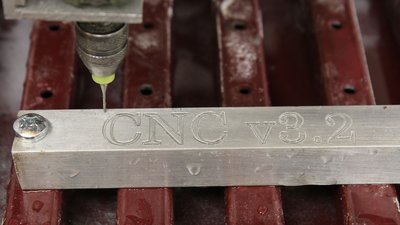
Processing aluminum works fine, but there is still space for improvement. I will implement a water pump for a circular flow of coolant so that the chipping is removed. With that I hope to get smoother edges. 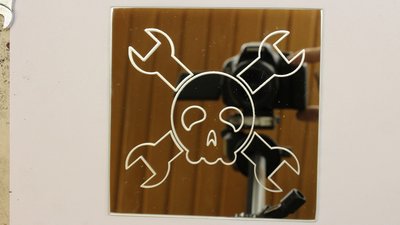
Engraving glass at the first test run. It's the Hackaday logo. 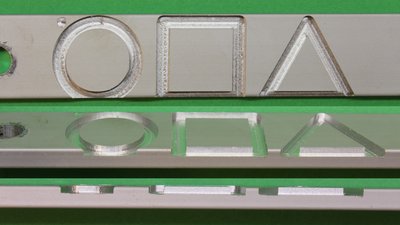
Carving another piece of aluminum with a 3.2mm router bit at the end of the video about the build process of the mechanics. Electronics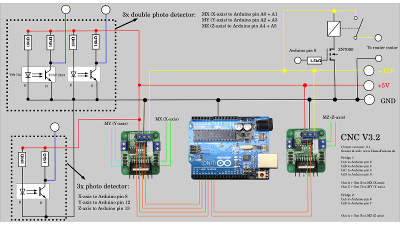
An Arduino and two doubble H bridges are needed to control the machine in the low power configuration I am using in the first videos. More ways of driving the machine will follow (e.g. using bipolar stepper motors). SoftwareThe software is part of the Download package. It is in an experimental state and can currently process nothing but Scalable Vector Graphocs (*.svg). I will implement G-code functionality in the machine electronics soon.<<< CNC v3.1 (Printer) CNC v3.2.1 >>> News The Project Technology RoboSpatium Contribute Subject index Archives Download Responses Games Links Gadgets Contact Imprint |
|
|