|
|
|
|
News The Project Technology RoboSpatium Contribute Subject index Download Responses Games Gadgets Contact <<< Imprint ...to be continued. >>> 3D printer Mingda D2The video about the Mingda D2Get the Mingda D2 on Amazon and with Coupon Code SJYI4VAV you get it 10% cheaper. About the printer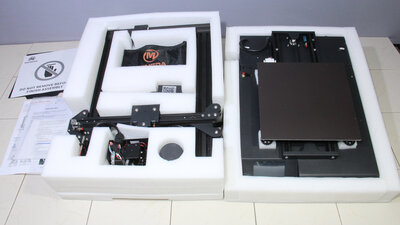
The Mingda D2 ships almost fully assembled. 
The assembly starts with screwing together socket and top frame, to which reinforcements are then attached. Now the print head and the cover on the motor of the X-axis, as well as the filament holder have to be screwed on. 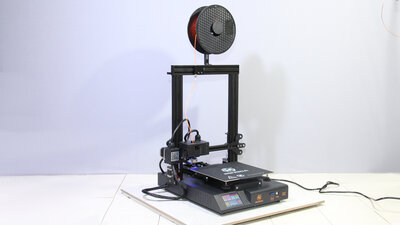
The final step is to plug in the cables. With that, the assembly of the printer is done. 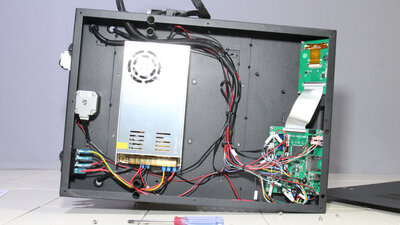
The electronics is safely housed in the socket of the Minda - the wiring inside looks really tidy and no moving parts can touch the cables with the mains voltage. The fan of the power supply is temperature-controlled, but can be clearly heard when being fully on. With the newer stepper drivers on the mainboard of the Mingda, the drives of the axes work very quietly. 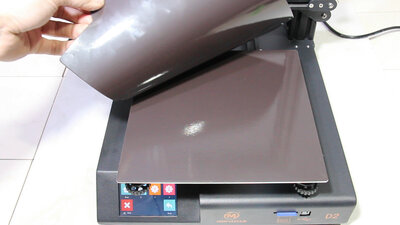
The latest technology used in desktop printing is a plastic-coated metal plate that stick magnetically to the print bed. The big advantage is that even objects with a large base area can be easily removed from the build plate after printing. I usually ruined the plastic coatings on several of my printers more sooner than later - especially when using a scraper to remove prints from the build plate - there is no need for this tool with the D2. The maximum temperature of the pront bed is 100°C, that is reached after about 6 minutes. 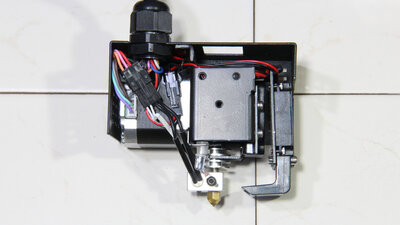
The Mingda D2 does not follow the trend towards more and more compact print heads, which I also like, as the components are more easily accessible whenever an error occurred during operation. A clogged nozzle or stuck filament is easier to clear with the parts being more easy accessible. I also like that the air flow for part cooling has a fairly large cross-section and the fan isn't attached tightly to the nozzle. 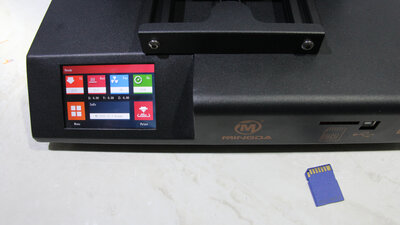
The standard SD card slot on the Mingda can be easily reached on the front side. The color touchscreen of the D2 with a diagonal of 8.9cm reacts very well to all inputs and the printer menu is clearly structured, which makes the device very easy to operate. 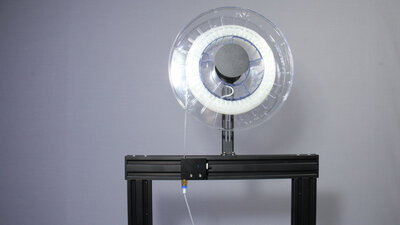
The Mingda D2 ships with a filament sensor and a function that continues printing after a power failure. Especially the filament sensor will save one or the other print job. Sample prints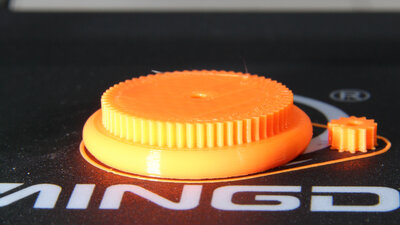
Rim with gear: Material: PLA Nozzle: 0.4mm Layer height: 0.2mm Dimensions: 50x11mm (Felge) und 11x5mm (kleines Zahnrad) 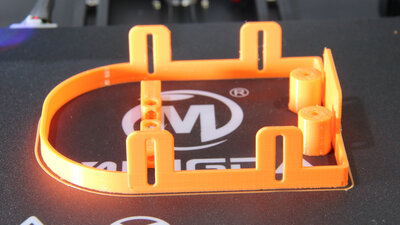
Bumper Rover: Material: PLA Nozzle: 0.4mm Layer height: 0.2mm Dimensions: 135x110x30mm 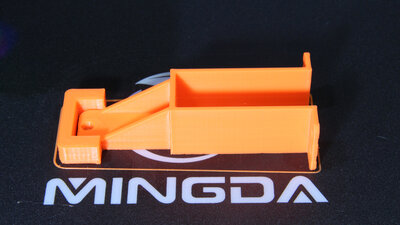
Servo mount Rover: Material: PLA Nozzle: 0.4mm Layer height: 0.2mm Dimensions: 107x50x25mm 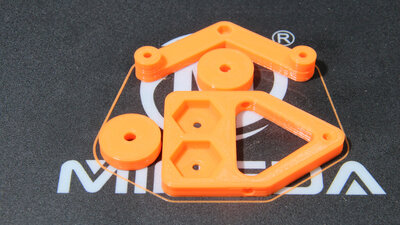
Terminal mounts Rover: Material: PLA Nozzle: 0.4mm Layer height: 0.2mm Dimensions: 88x45x6mm und 70x39x10mm 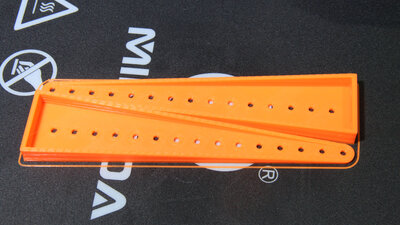
"Tower" Rover: Material: PLA Nozzle: 0.4mm Layer height: 0.2mm Dimensions: 156x35x10mm 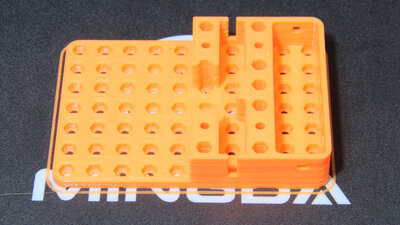
Chassis Rover: Material: PLA Nozzle: 0.4mm Layer height: 0.2mm Dimensions: 100x70x17mm 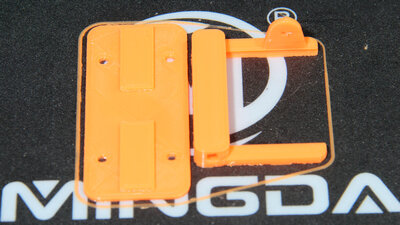
Motor cover and mount for ESP32: Material: PLA Nozzle: 0.4mm Layer height: 0.2mm Dimensions: 70x30x3mm und 50x38x15mm 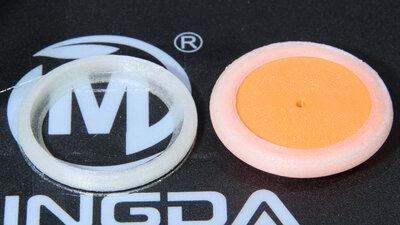
Tyre Rover: Material: TPU Nozzle: 0.4mm Layer height: 0.2mm Dimensions: 55x6mm 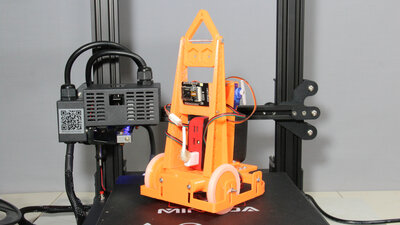
Fertig montierter Rover: <<< Imprint ...to be continued. >>> News The Project Technology RoboSpatium Contribute Subject index Archives Download Responses Games Links Gadgets Contact Imprint |
|
|